… [Trackback]
[…] Read More Information here to that Topic: blog.neterra.cloud/en/what-is-cwp-and-how-to-install-it/ […]

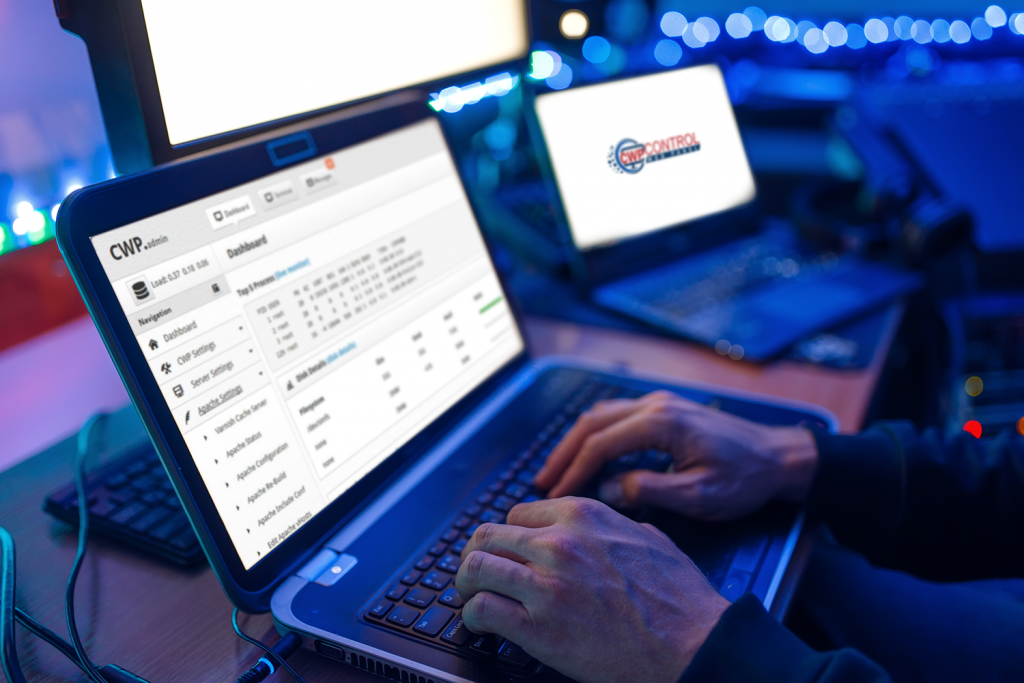
CentOS Web Panel (CWP) is a popular hosting control panel for easier management of one or multiple servers. You can use it for both dedicated servers or VPS and you don’t need to access the server via SSH every time. CWP is also free and open source.
You can use CWP on RPM Linux OS distributions like CentOS, RedHat, CloudLinux. It also has full support for the LAMP (Linux, Apache, MySQL, MariaDB, PHP) stack and it installs it alongside.
CWP has a plethora of features for server installation and configuration and an extensive control panel with functions like secure login, DNS zone management, script installer and more.
You have to start with some preparations. CWP supports only static IP addresses, so make sure your server is on one like that. Install CWP on a freshly installed OS to avoid possible issues.
There are also some hardware requirements. The server should have at least 512MB RAM and 10GB HDD space for a 32bit installation and 1GB RAM for a 64bit server. It’s highly recommended that you have 4GB RAM, though, in order to get the full functionality of CWP.
Then you have to start with the process of the actual installation. You have to login to your server as root and then start the terminal to setup the hostname:
hostname srv.example.com
Obviously, change the example.com with your domain. And you notice that a subdomain use is also recommended.
Next, setup the server IP address if you use more than one:
yum install NetworkManager-tui
nmtui
Next, you have to update the server:
yum -y install wget
yum -y update
reboot
Then download the CWP:
cd /usr/local/src
wget http://centos-webpanel.com/cwp-latest
sh cwp-latest
Next activate the installation. The commands can vary depending on the platform. For example, for CentOS 7:
cd /usr/local/src
wget http://centos-webpanel.com/cwp-el7-latest
sh cwp-el7-latest
Or for MariaDB 10:
cd /usr/local/src
wget http://centos-webpanel.com/cwp-latest
sh cwp-latest
In all cases, wait for the process to finish. This can take up to 30 minutes. After it’s done run the reboot command for the server.
After the reboot, you can continue the configuration via the web interface. For this you can open your server web browser and visit: http://SERVER-IP:2030/ (change with the actual IP of your server).
Login with your root username and password.
Continue with the setup wizard to enter the nameservers, IP, hosting package, etc. Now, you’re ready to host your sites.
… [Trackback]
[…] Read More Information here to that Topic: blog.neterra.cloud/en/what-is-cwp-and-how-to-install-it/ […]
… [Trackback]
[…] Find More on on that Topic: blog.neterra.cloud/en/what-is-cwp-and-how-to-install-it/ […]
… [Trackback]
[…] Read More to that Topic: blog.neterra.cloud/en/what-is-cwp-and-how-to-install-it/ […]
… [Trackback]
[…] Read More on on that Topic: blog.neterra.cloud/en/what-is-cwp-and-how-to-install-it/ […]
… [Trackback]
[…] Read More to that Topic: blog.neterra.cloud/en/what-is-cwp-and-how-to-install-it/ […]
… [Trackback]
[…] Find More here to that Topic: blog.neterra.cloud/en/what-is-cwp-and-how-to-install-it/ […]
… [Trackback]
[…] Here you will find 95209 more Info on that Topic: blog.neterra.cloud/en/what-is-cwp-and-how-to-install-it/ […]